pixelprimer
Memmy
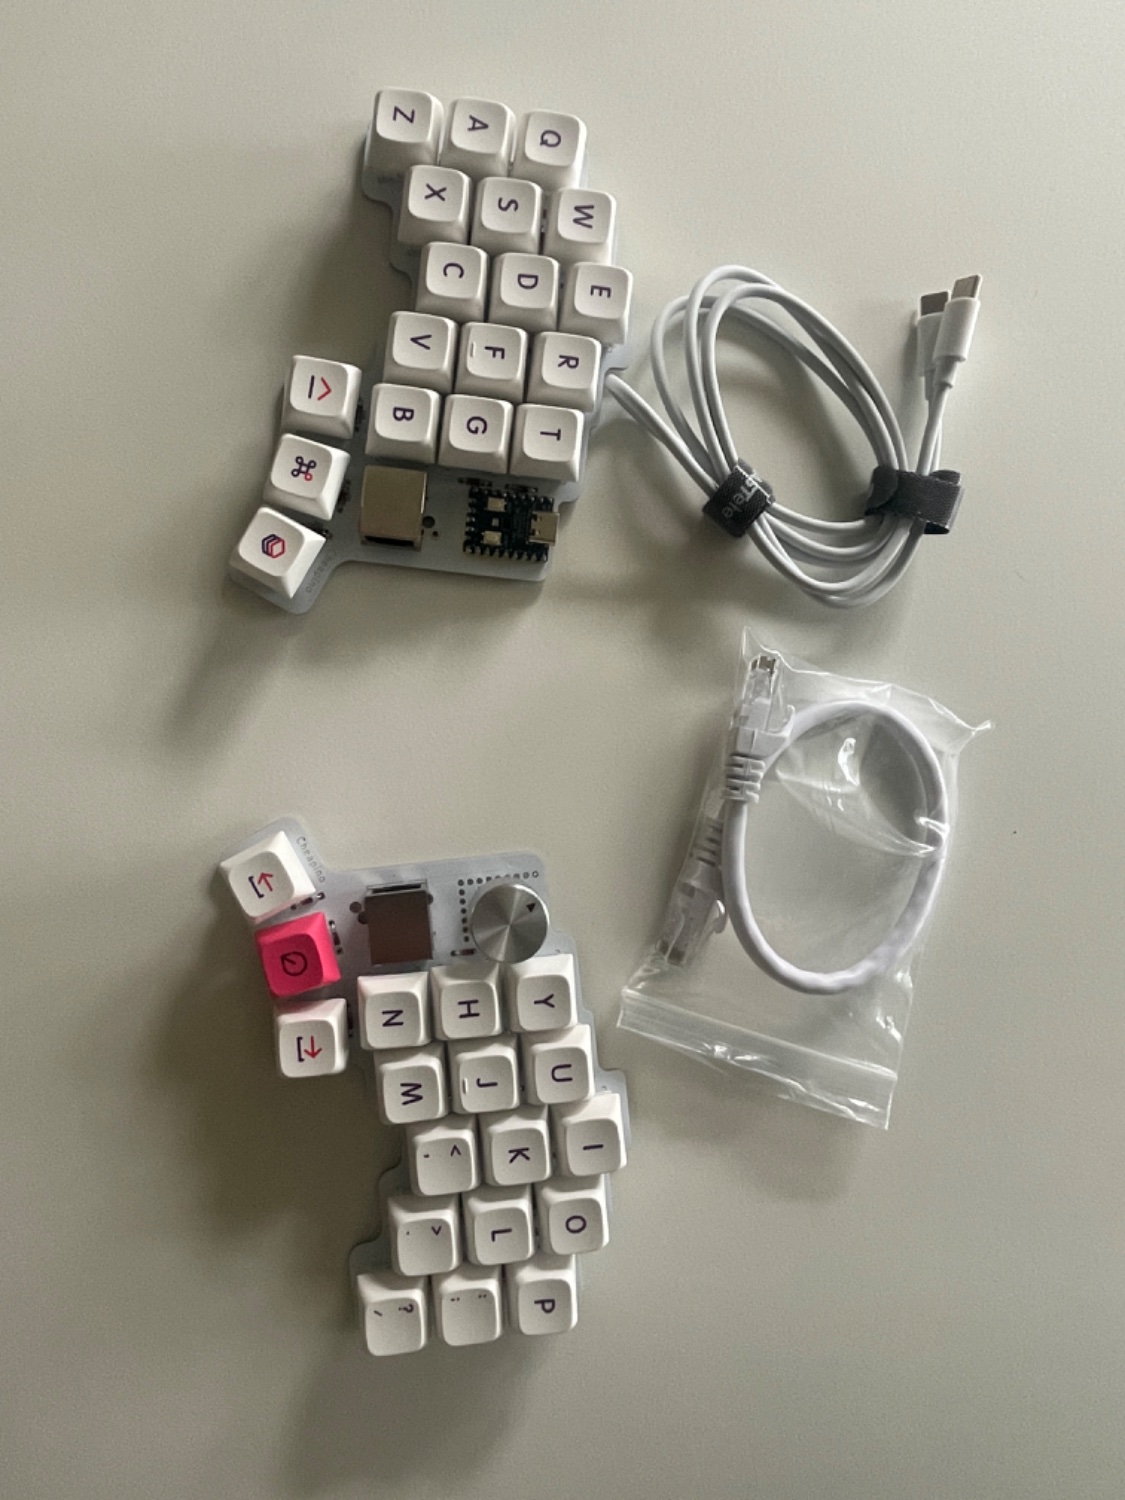
They are really whatever you want them to be. But usually space enter backspace shift etc + layer switching. These 36 key keyboards don’t have the number row, function row or even some of the symbols. So you use other ways to get that to function. Here’s a video of a 34 key layout that I think explains things well https://youtu.be/8wZ8FRwOzhU


I’m in Australia so this will be in AUD with Australian shipping.
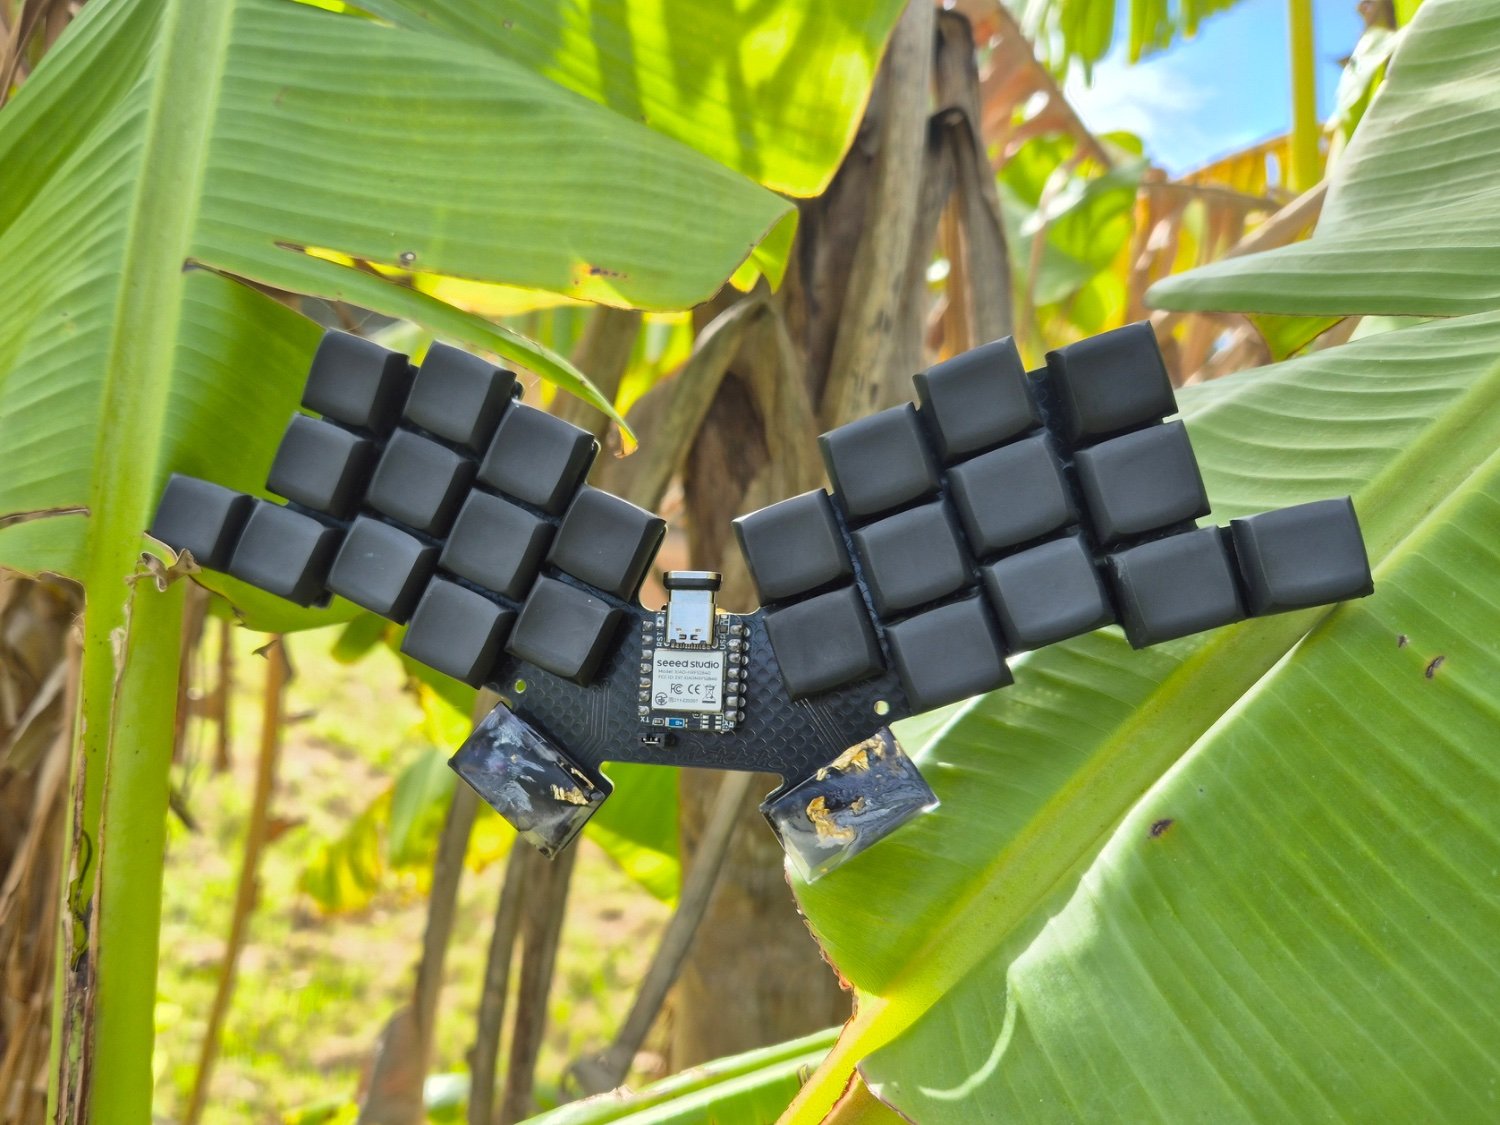
I got the PCB’s from JLPCB for $23.85
The keycaps diodes microcrontroller switches etc came to $50.17 total. I just used the ones linked in the github, as well as probably knockoff holy pandas and a knockoff soya milk set? They were both super cheap hahah.
So that’s $73.22 AUD total, so a bit less than $50 USD!
https://github.com/tompi/cheapino
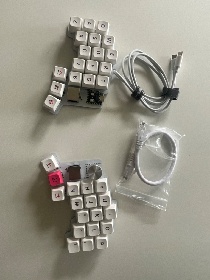
I’ve done some soldering in the past but never built a keyboard or anything like this. I was quite nervous but it was quite easy! Hardest part was making sure the switches were straight, but following the build guides tips I managed to do that pretty well (better on the right half then the left half I tried first hahaha.) Highly recommend this keyboard and project.
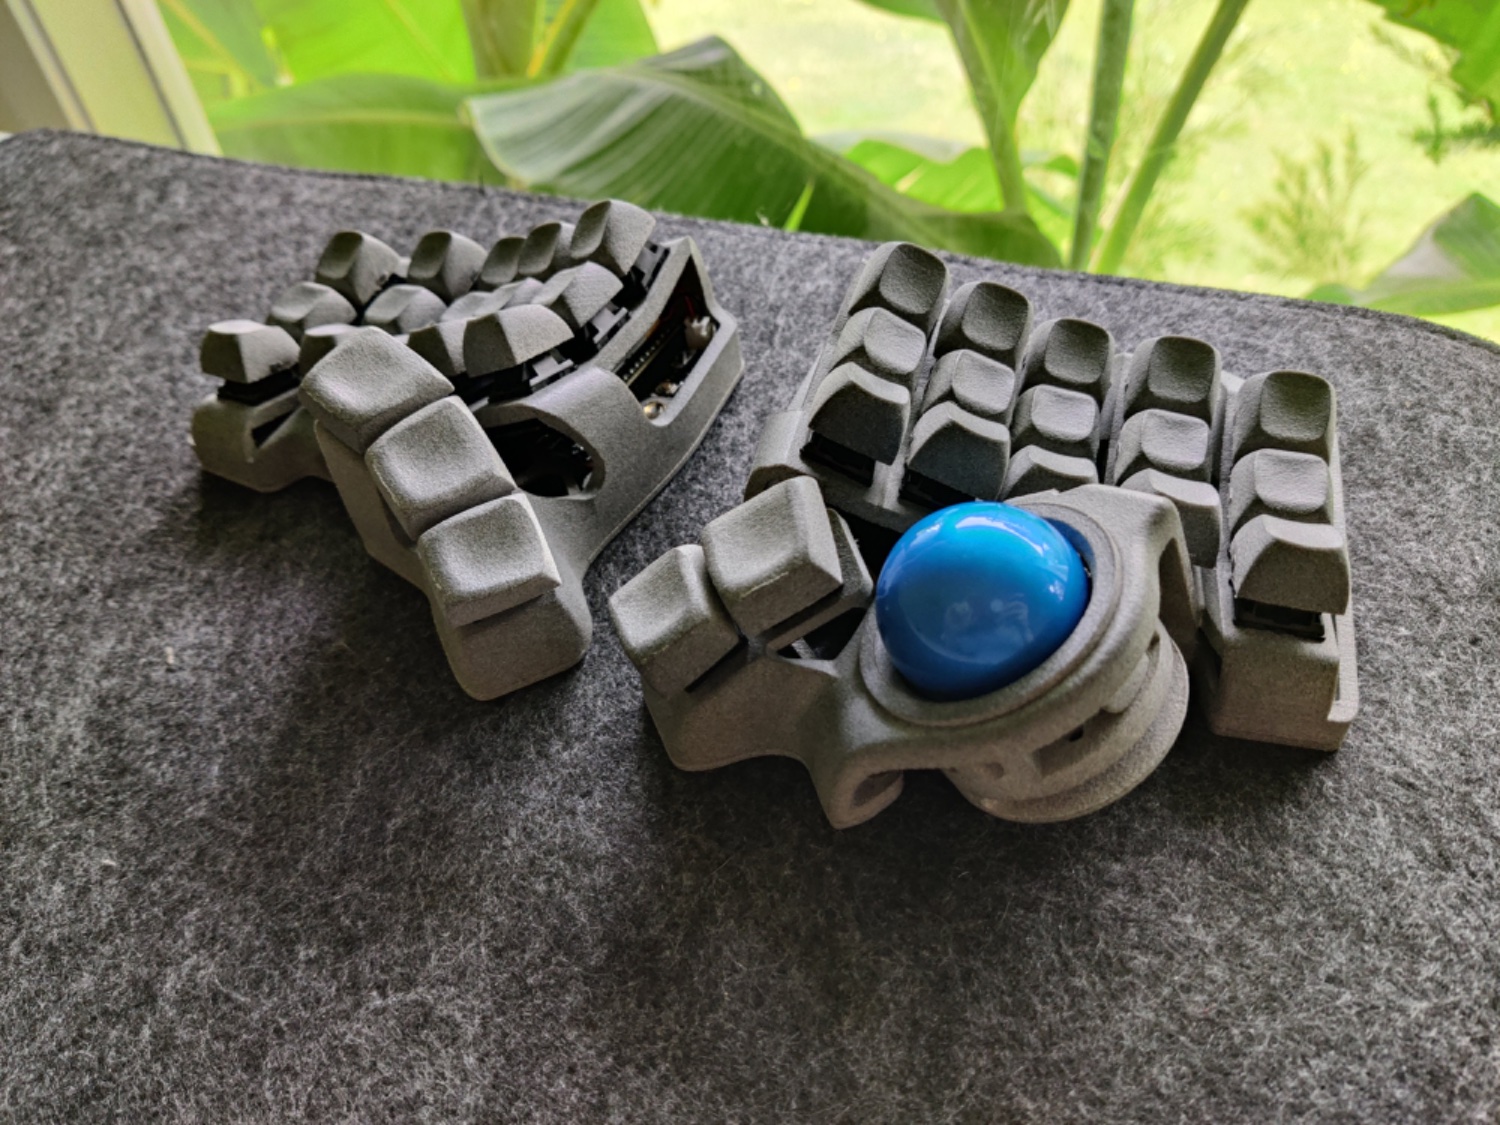
Really happy with the end result, I plan on building a Charybdis nano or Flow36 in the future to replace my trackball mouse but this is a great first step.
Cheapest would probably be cardboard https://golem.hu/guide/cardboard-prototyping/
If you look at my post history I just built a Cheapino for ~$50 USD https://github.com/tompi/cheapino
Although I think that’s not cheap and dirty, it’s more cheap and pretty. Probably easier to do than hand wiring as well.
Yes. I built my Cheapino for less than $50 USD https://github.com/tompi/cheapino
I built my Cheapino for less than $50 USD https://github.com/tompi/cheapino
Glove 80 or Kinesis 360 would be my suggestion.


